---
title: Connect a domain
sidebarTitle: Overview
description: Add any domain you own to Reloop, configure DNS, verify authentication, and start sending email from your brand.
icon: globe
---
> For the complete documentation index, see [llms-docs.txt](/llms-docs.txt) or the site index [llms.txt](/llms.txt). Full docs corpus: [llms-full-docs.txt](/llms-full-docs.txt). Prefer markdown URLs (append `.md`) for agent consumption. Product skill: [skill.md](/skill.md).
Reloop can send (and optionally receive) email for **any domain you control**. You do not need to buy the domain from Reloop — register it anywhere, point DNS at the records Reloop shows you, and verify.
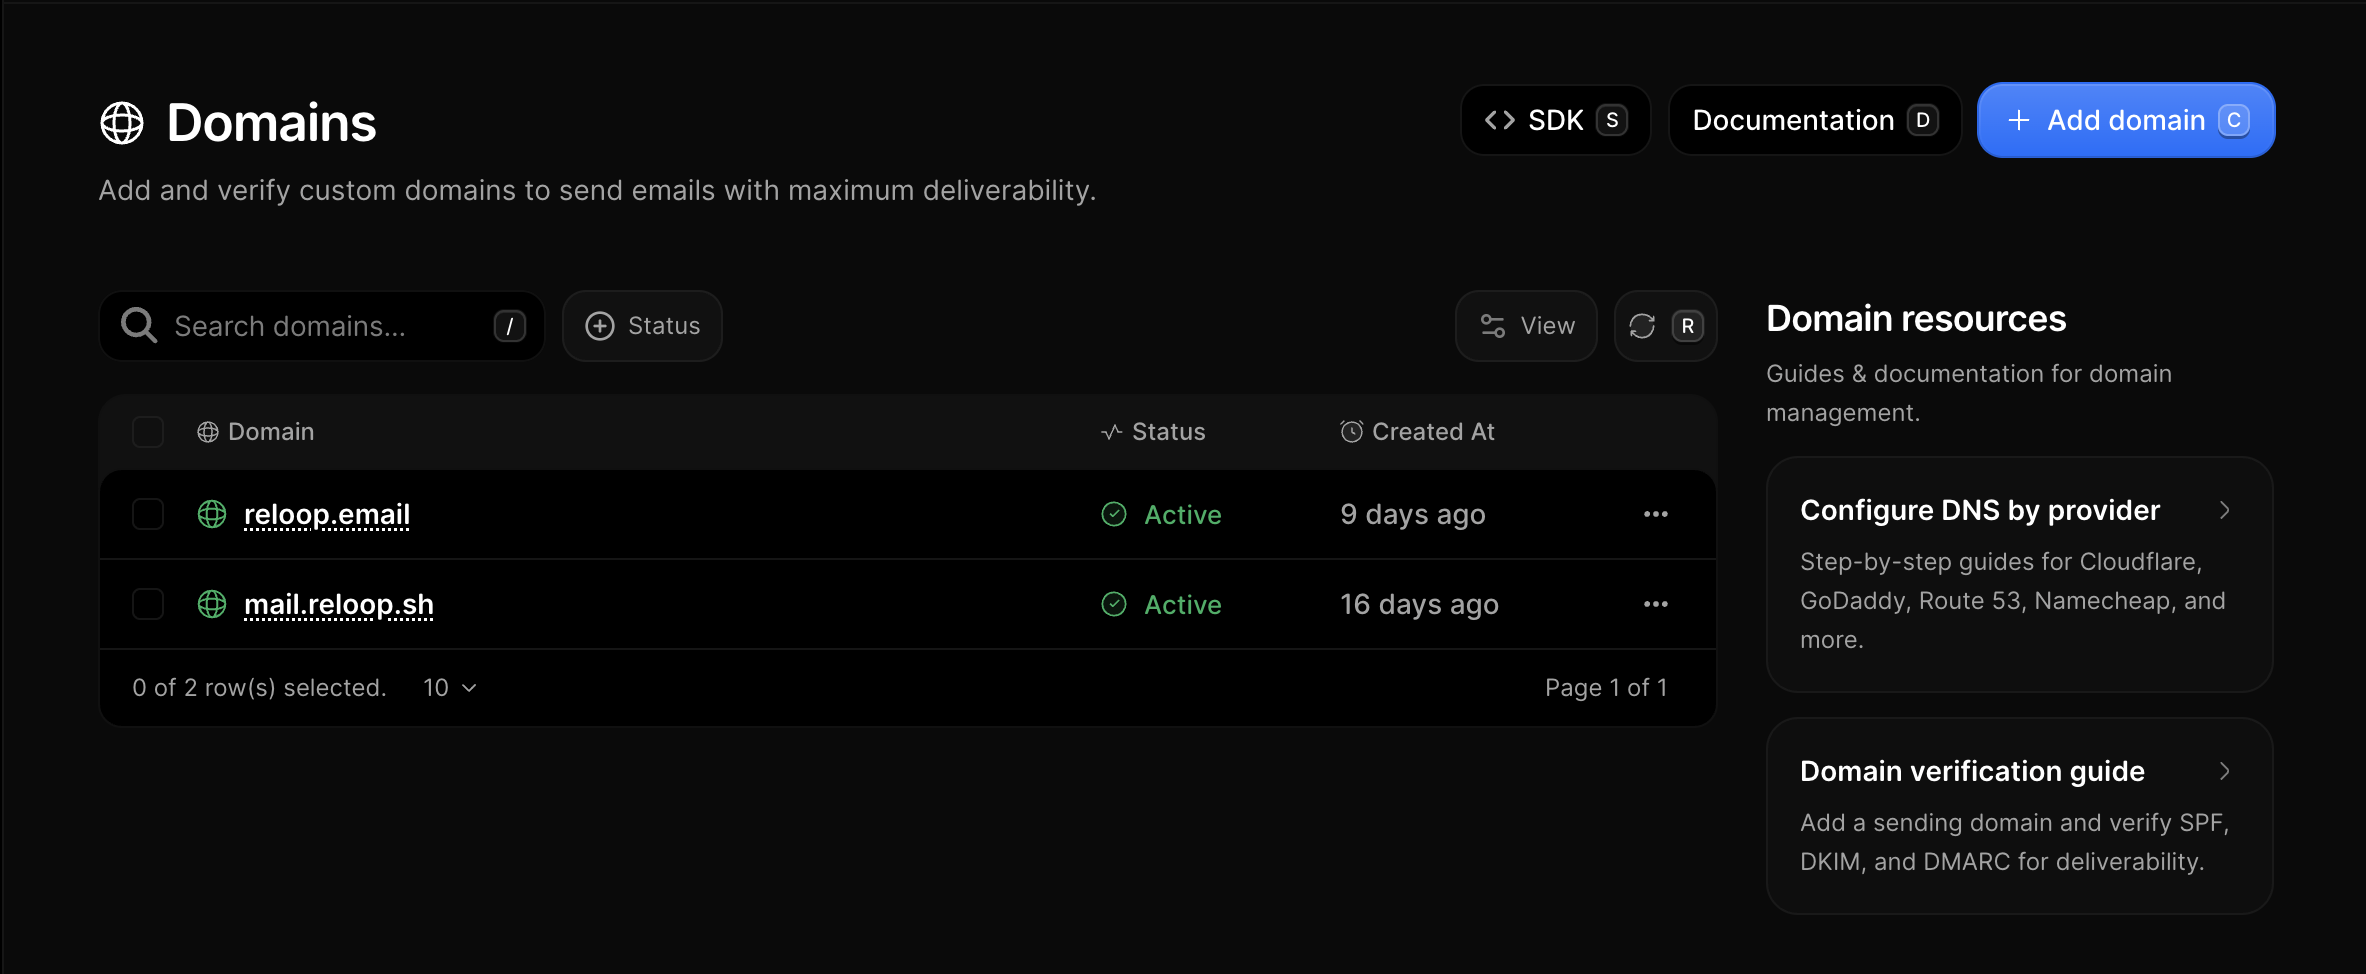
The [Domains](https://reloop.sh/dashboard/domain) page lists every sending domain in your organization, with status and shortcuts to DNS guides.
## What you will do
Open [Domains](https://reloop.sh/dashboard/domain) and click **Add domain**. Enter `example.com` or a subdomain like `mail.example.com`.
Reloop detects your nameservers when possible. If you are unsure who hosts DNS, see [Find your DNS provider](/docs/guides/connect-domain/find-dns-provider).
On the domain page, follow the banner Reloop shows for your DNS host — see below.
Click **Verify** (or wait for automatic checks). When status is **active**, you can send from that domain.
## Configuring DNS from the banner
After you add a domain, Reloop shows a banner based on the nameservers it detected.
- If the banner names your DNS host and offers **Auto populate**, click it. Approve the consent screen at your provider and Reloop’s records are written for you. More detail: [Auto populate](/docs/guides/connect-domain/auto-populate).
- If the banner does not offer Auto populate (or you prefer not to use it), copy the Type / Host / Value rows from the dashboard into your DNS panel. More detail: [Manual setup](/docs/guides/connect-domain/manual-setup) and the [DNS guides](/docs/guides/connect-domain/providers).
Either way, Reloop checks public DNS afterward and marks the domain verified when the records match.
## New to DNS?
Start here — you do not need to be a network engineer:
1. [What is a domain?](/docs/guides/connect-domain/what-is-a-domain)
2. [What is DNS?](/docs/guides/connect-domain/what-is-dns)
3. [Registrar vs DNS host](/docs/guides/connect-domain/registrar-vs-dns-host)
4. [Find your DNS provider](/docs/guides/connect-domain/find-dns-provider)
5. [DNS records Reloop needs](/docs/guides/connect-domain/dns-records-explained)
## Full map
- **Setup** — [Add a domain](/docs/guides/connect-domain/add-domain) · [What is a domain?](/docs/guides/connect-domain/what-is-a-domain) · [Sending vs receiving](/docs/guides/connect-domain/sending-vs-receiving)
- **DNS guides** — [All DNS hosts](/docs/guides/connect-domain/providers)
- **Verification** — [Statuses](/docs/guides/connect-domain/verification/statuses) · [Propagation](/docs/guides/connect-domain/verification/propagation)
- **Troubleshoot** — [Domain not verifying](/docs/guides/connect-domain/troubleshoot/not-verifying) and more
- **After connect** — [Test](/docs/guides/connect-domain/after/test-domain) · [Change DNS](/docs/guides/connect-domain/after/change-dns) · [Remove](/docs/guides/connect-domain/after/remove-domain)
Always copy values from your domain’s page in the Reloop dashboard. Examples in docs use placeholders; your DKIM key and hosts are unique to your domain.