Domain Chief
Verify your domain on Domain Chief with Reloop.
Domain Chief can use Reloop Auto-populate when nameservers match. Manual steps are always available as a fallback.
First, log in to Reloop and add a domain.
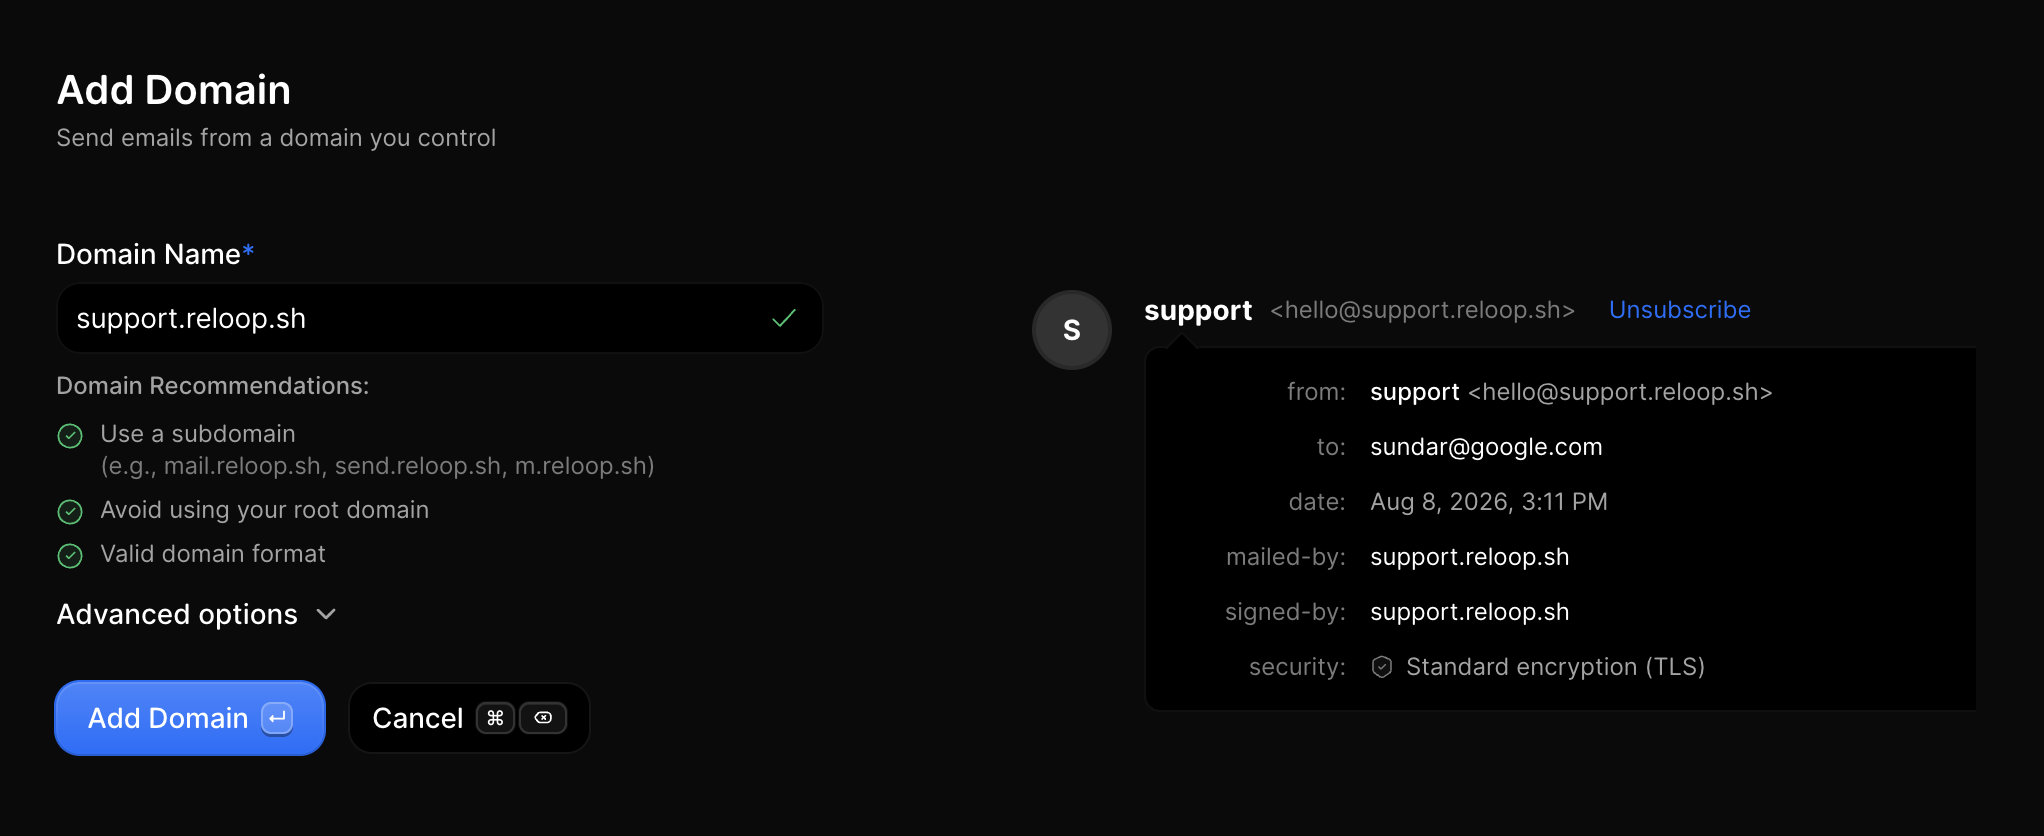
Automatic setup (recommended)
The fastest way to verify your domain on Domain Chief is Auto populate in Reloop. This uses Domain Connect — Domain Chief indexes public templates automatically (Domain Chief Domain Connect).
- Go to your Domains page in Reloop and open the domain.
- (Optional) If you want to receive emails, turn Receiving on before Auto-populate so the inbound MX is included. Learn more below.
- Click Auto populate (shown when Reloop detects Domain Chief nameservers).
- Authorize Reloop in Domain Chief and approve the records.
- Return to Reloop — records are written automatically.
That’s it. Your domain will usually verify within a few minutes.
If Auto-populate fails or Reloop does not offer it, use Manual setup below. See also Auto-populate DNS and Auto-populate failed.
Manual setup
If you prefer to add DNS records manually, follow these steps. Always copy Type / Name / Value from your domain page in Reloop — examples below use placeholders.
Log in to Domain Chief
Log in to Domain Chief and open DNS for the domain whose nameservers match ns.domainchief.app / .eu / .nl / .net.
Domain Chief → select domain → DNS.
If Reloop or dig NS yourdomain.com shows a different host, stop and edit that host instead — see Wrong nameservers.
Add MX SPF record
Add a record in Domain Chief:
- Set the Type to
MX. - Set the Name to the host Reloop shows (for a subdomain like
team.example.com, oftenteamor@depending on the UI). - Copy the MX value from Reloop into the mail server / value field (typically
reloop.sh). - Use
Autoor the provider default for TTL. - Set Priority to the value Reloop shows (often
10). - Save.
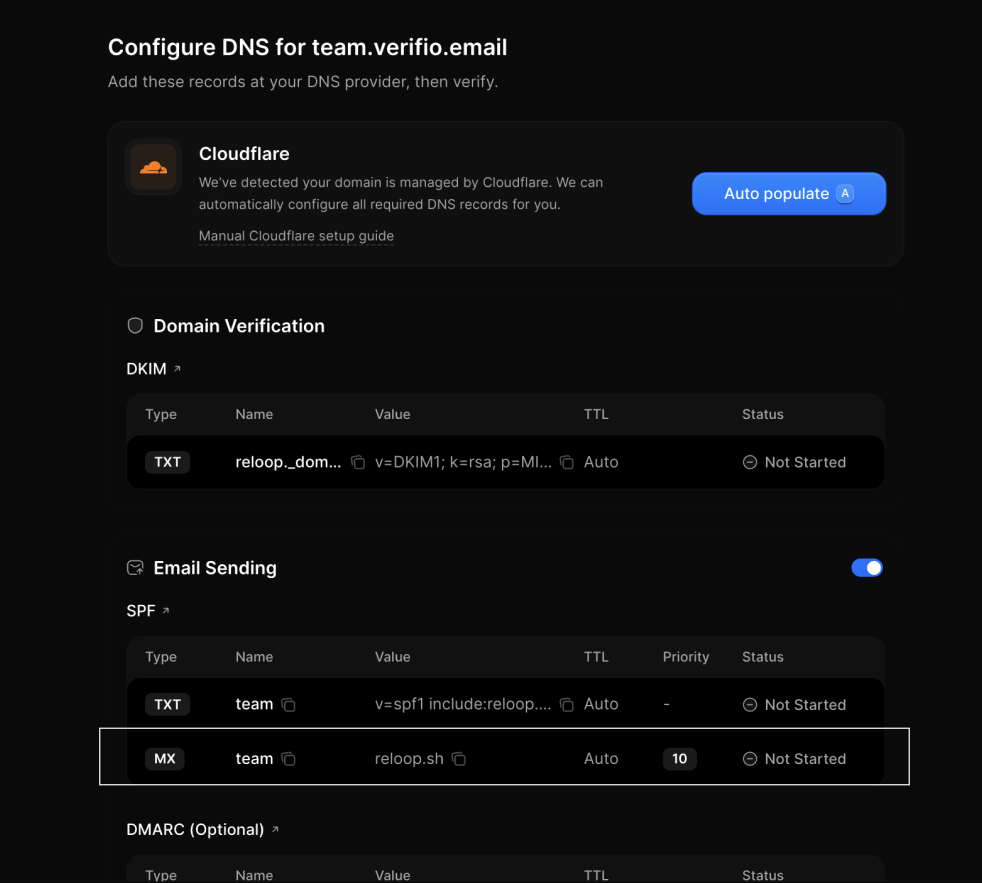
| Domain Chief | Reloop | Example value |
|---|---|---|
| Type | Type | MX |
| Name / Host | Name | team (or @ for the root) |
| Value / Mail server | Value | reloop.sh |
| Priority | Priority | 10 |
| TTL | TTL | Auto |
Omit your domain from the Name field when Domain Chief appends it. Paste team, not team.example.com.
Do not reuse the same priority for conflicting MX records you must keep. If Priority 10 is already in use on that host, follow Reloop’s UI or use a separate subdomain.
Add TXT SPF record
Add a record in Domain Chief:
- Set the Type to
TXT. - Set the Name to the host Reloop shows (same host as the sending MX, e.g.
teamor@). - Copy the TXT value from Reloop (typically
v=spf1 include:reloop.sh -all). - Use
Autoor the provider default for TTL. - Save.
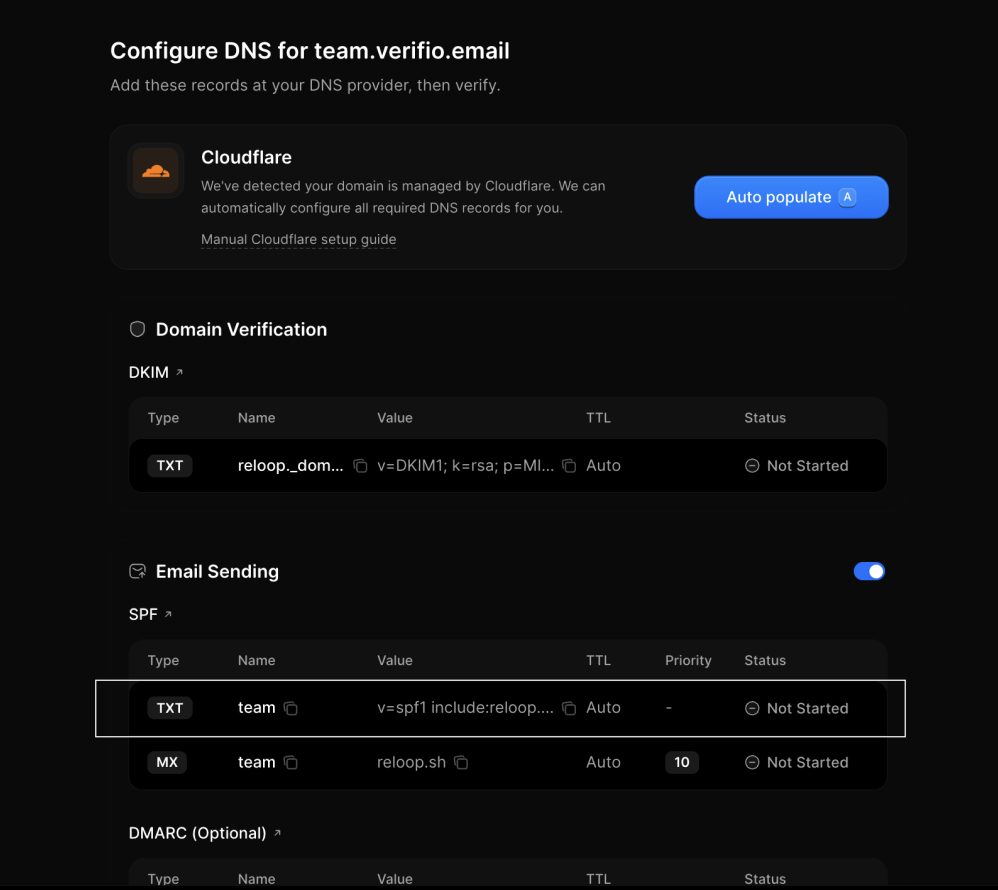
| Domain Chief | Reloop | Example value |
|---|---|---|
| Type | Type | TXT |
| Name / Host | Name | team (or @ for the root) |
| Value / Content | Value | v=spf1 include:reloop.sh -all |
| TTL | TTL | Auto |
Omit your domain from the Name field when Domain Chief appends it. Paste team, not team.example.com.
Add TXT DKIM record
Add a record in Domain Chief:
- Set the Type to
TXT. - Set the Name from Reloop (selector is usually
reloop._domainkey). Under an apex zone this may bereloop._domainkey.team. - Copy the full TXT value from Reloop into the value field (
v=DKIM1; k=rsa; p=…). - Use
Autoor the provider default for TTL. - Save.
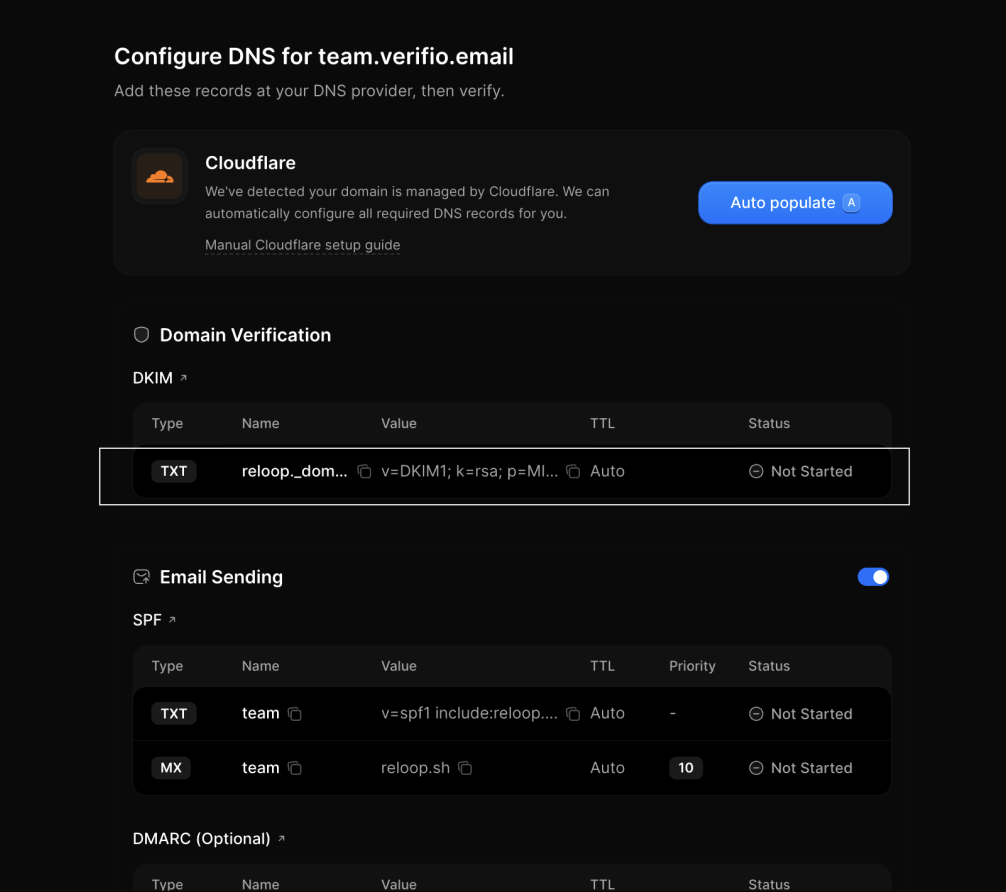
| Domain Chief | Reloop | Example value |
|---|---|---|
| Type | Type | TXT |
| Name / Host | Name | reloop._domainkey (or reloop._domainkey.team under the apex zone) |
| Value / Content | Value | v=DKIM1; k=rsa; p=… (unique per domain) |
| TTL | TTL | Auto |
Omit your domain from the Name field when Domain Chief appends it. Paste reloop._domainkey or reloop._domainkey.team, not the full FQDN ending in .example.com.
Receiving emails
If you want Reloop to receive mail on this hostname, turn Receiving on in the domain settings in Reloop, then add an MX record in Domain Chief:
- Set the Type to
MX. - Set the Name to the host Reloop shows (e.g.
teamor@). - Copy the MX value from Reloop (typically
inbound.reloop.sh). - Use
Autoor the provider default for TTL. - Set Priority as shown in Reloop (often
10). - Save.
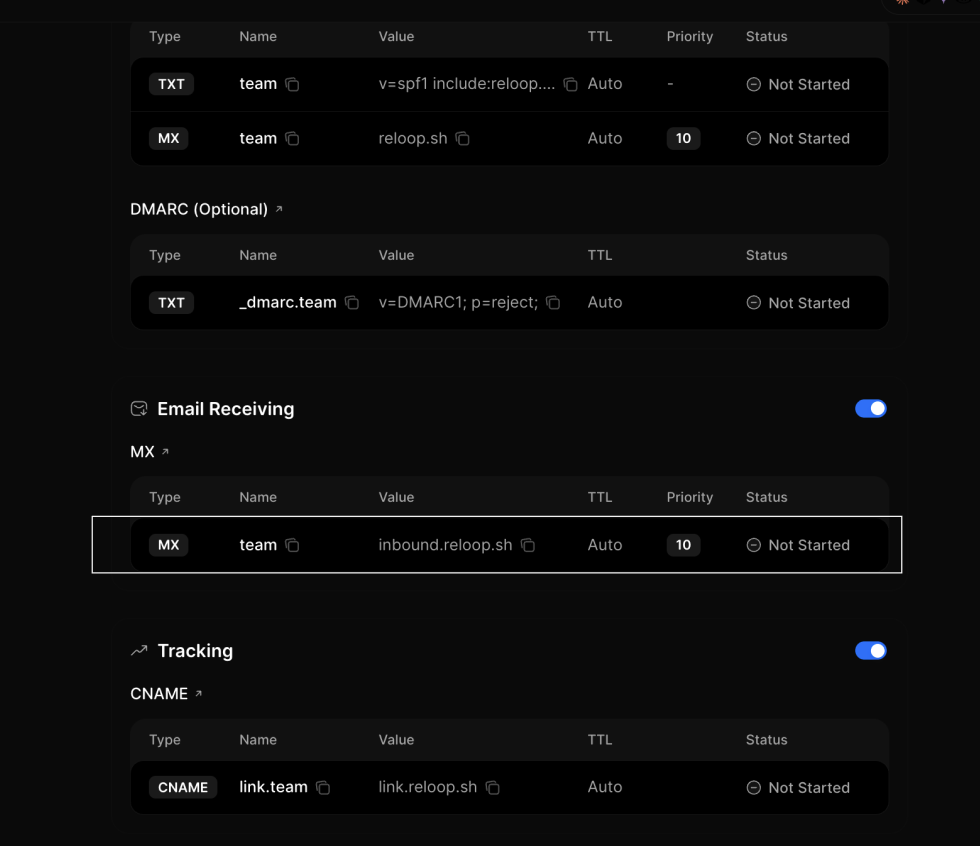
| Domain Chief | Reloop | Example value |
|---|---|---|
| Type | Type | MX |
| Name / Host | Name | team (or @ for the root) |
| Value / Mail server | Value | inbound.reloop.sh |
| Priority | Priority | 10 |
| TTL | TTL | Auto |
Complete verification
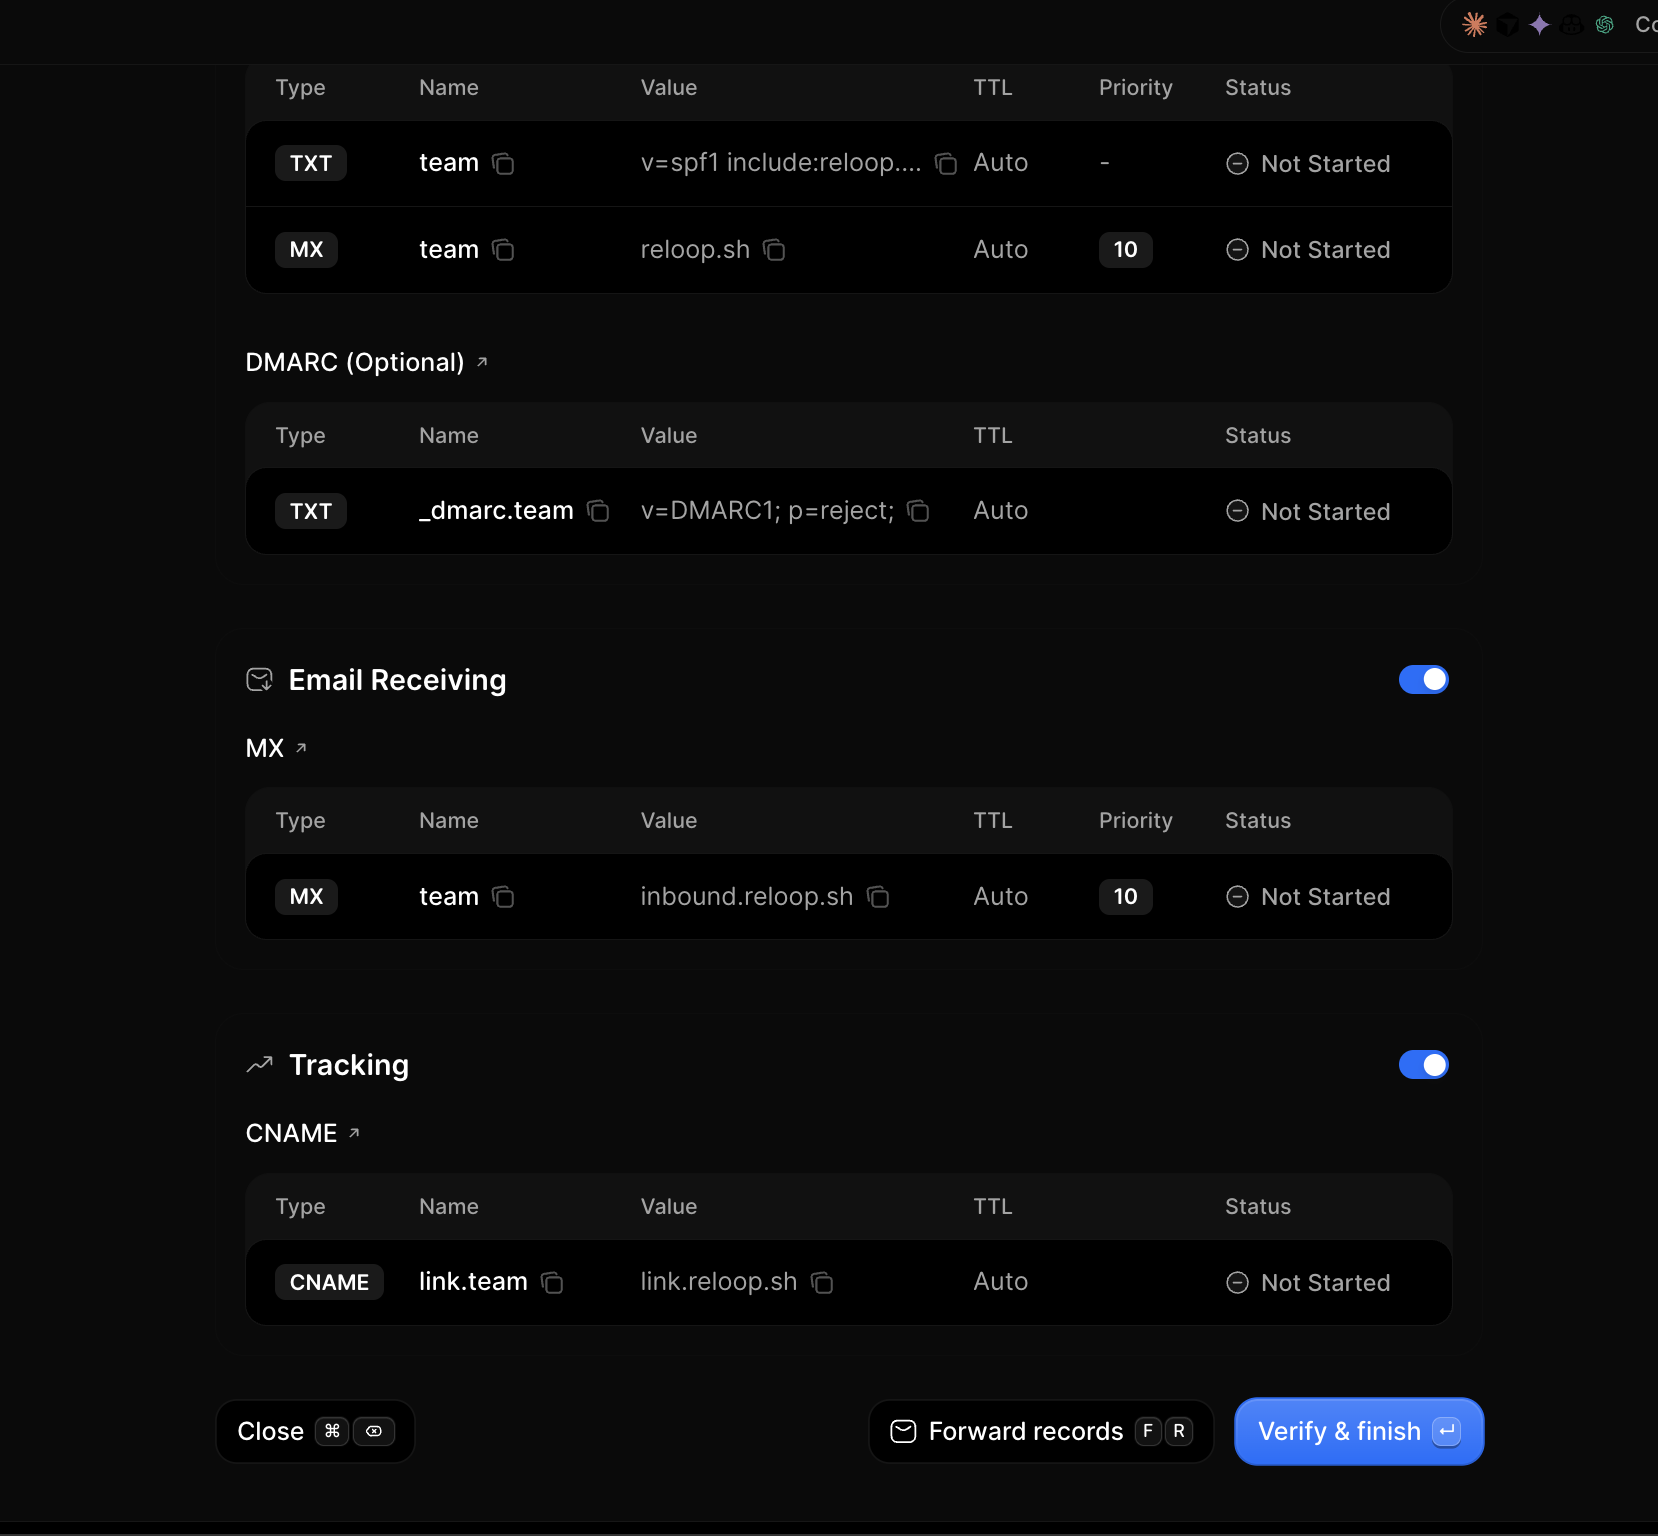
Return to Domains in Reloop, open the domain, and click Verify & finish. It may take a few minutes (rarely up to 48–72 hours) — see propagation.
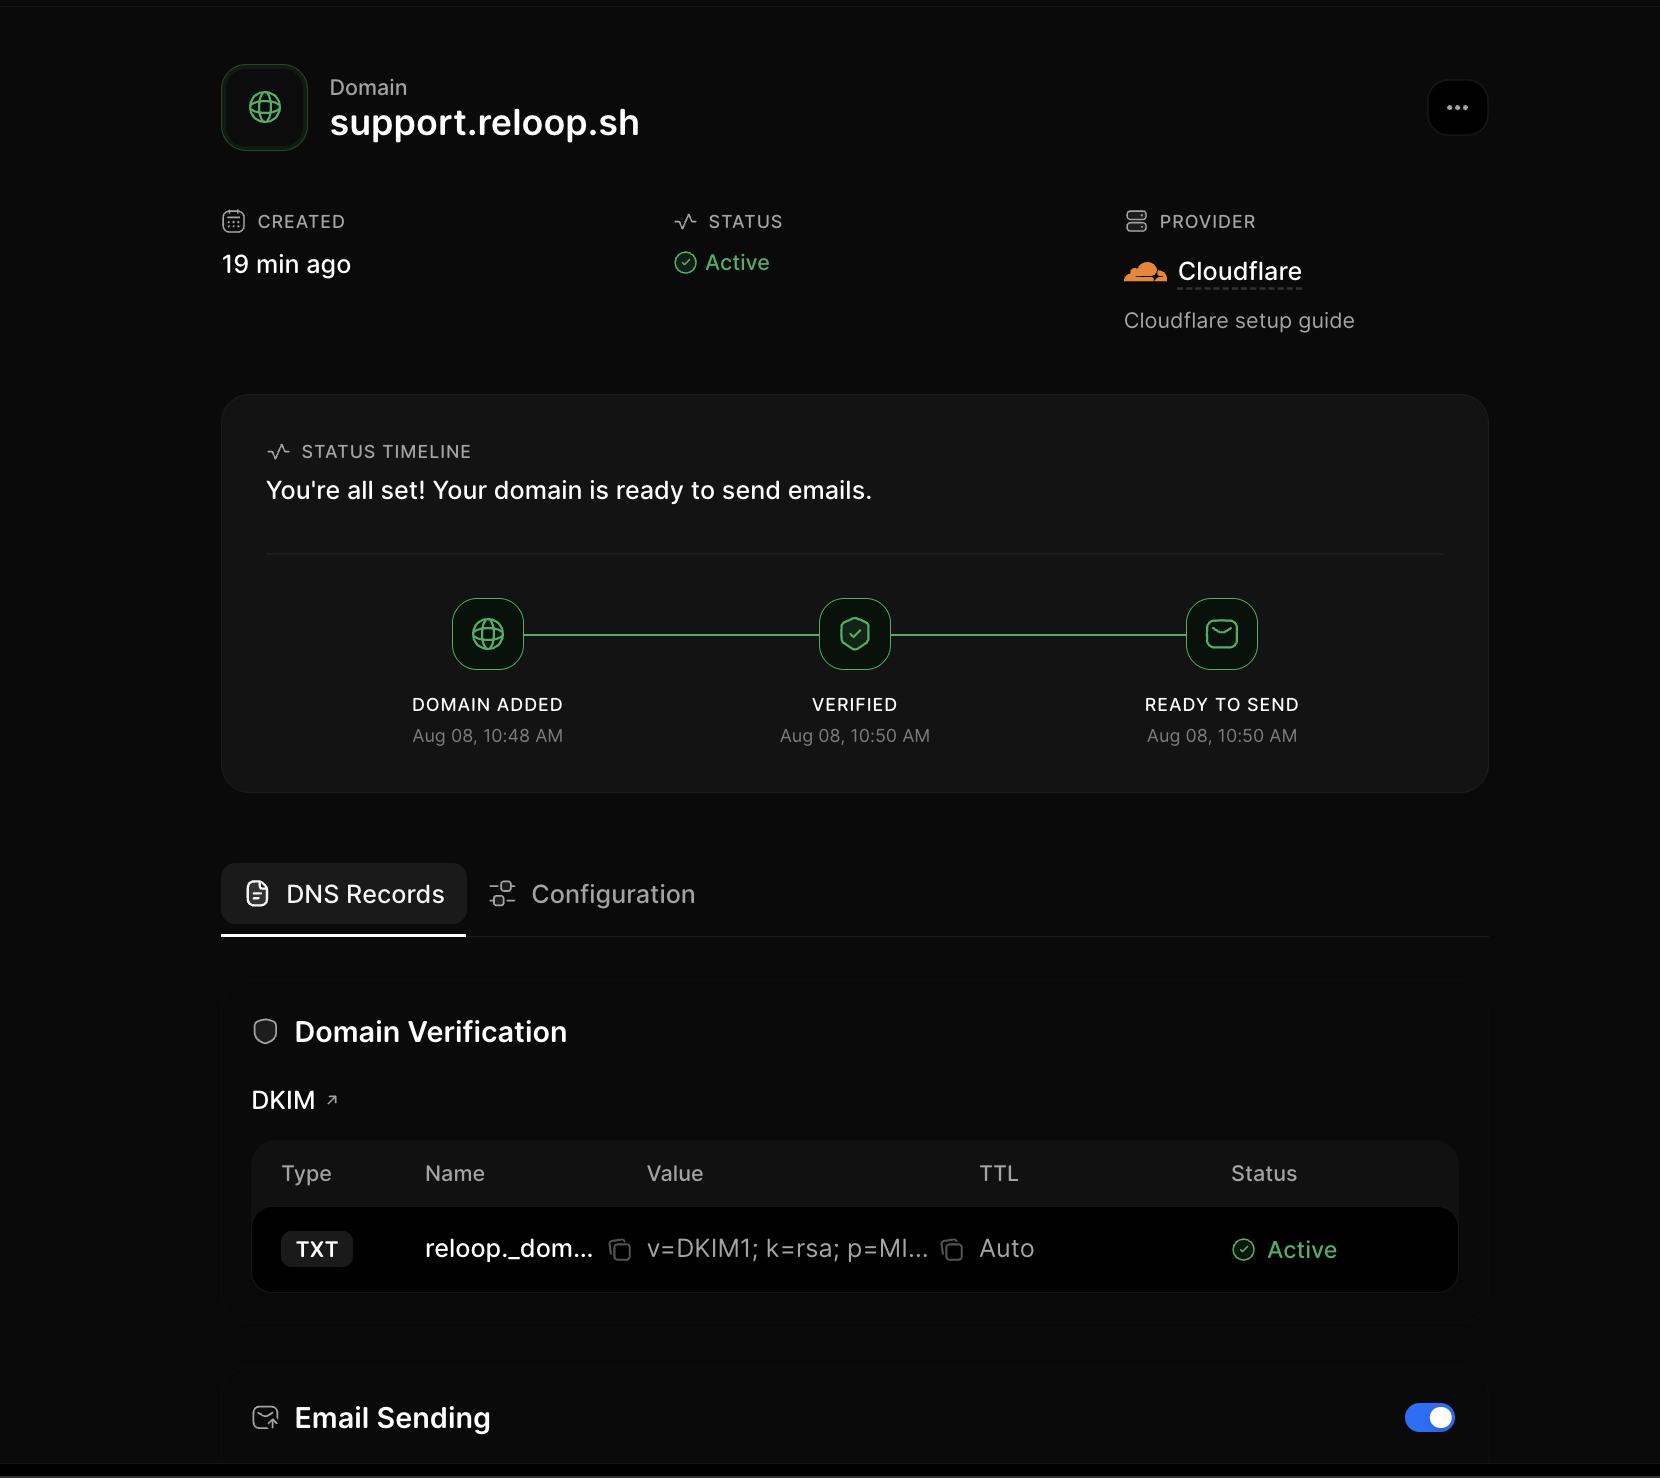
When verification succeeds, Reloop shows You're all set! — Domain added → Verified → Ready to send. Your domain is verified and you are good to go.
Domain Chief-specific notes
- Domain Chief auto-indexes public Domain Connect templates — prefer Auto populate when Reloop offers it.
- Auto-populate only works when public nameservers point at Domain Chief.
- Optional DMARC and tracking (
linkCNAME) rows also appear in Reloop when enabled — add them the same way from the dashboard values.
Troubleshooting
If your domain is not successfully verified, try these common fixes.
Related
Was this page helpful?
- Need help? Contact Support.
- Chat with Reloop developers on Discord.
- Check out our changelog.
- Questions? Contact Sales.
- LLM? Read llms.txt.